Proper roof ventilation is essential for maintaining the health and integrity of your home. At Pally Roofing, we understand the critical role that ventilation plays in preserving the structural integrity of your roof and ensuring the comfort and safety of your living space.
Whether you require roof vent installation, repairs, or a complete roof replacement, you can trust Pally Roofing to deliver exceptional results.
Table of Contents
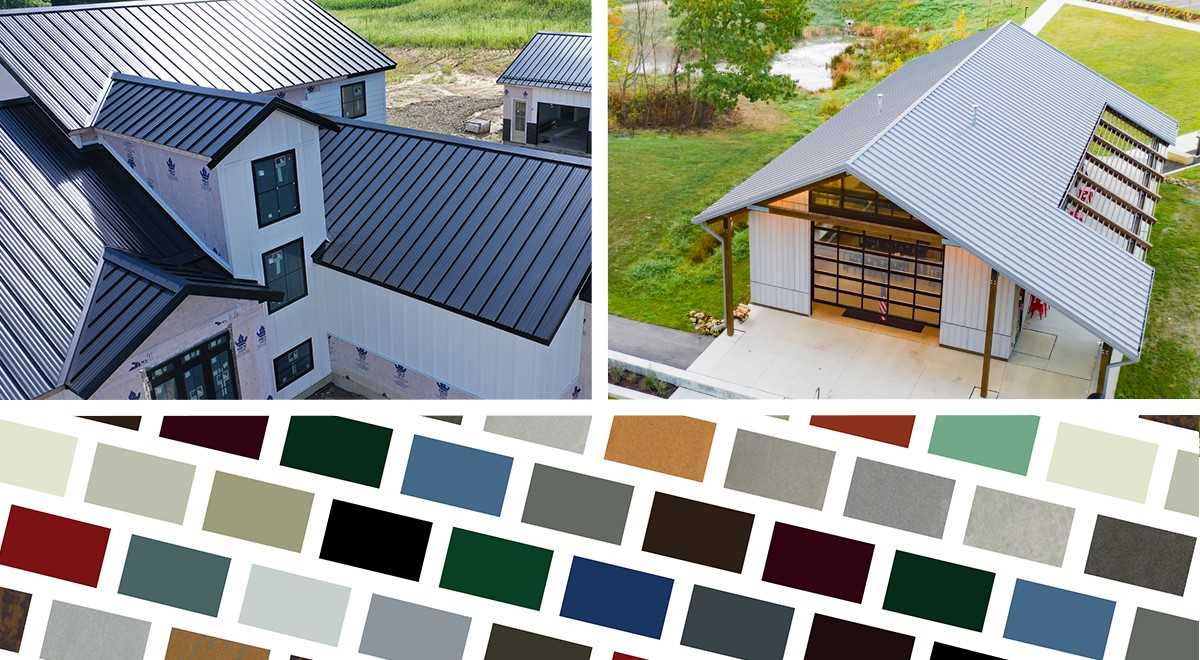
Types of Roof Vents
When it comes to roof ventilation, there are several types of vents to choose from, each with advantages and disadvantages. At Pally Roofing, we offer expertise in installing and maintaining various roof vents to suit your needs.
Here’s a breakdown of the most common types:
Box Vents:
Advantages: Box vents, also known as static vents, are simple and cost-effective solutions for ventilation. They are typically installed near the roof ridge, allowing hot air to escape from the attic.
Disadvantages: Box vents rely on natural convection to function, which means they may not be as effective in areas with low wind or if the roof design doesn’t allow for proper airflow.
Ridge Vents:
Advantages: Ridge vents are installed along the roof’s peak and provide continuous ventilation across the entire ridge. They offer excellent airflow and are less noticeable than other vent types, maintaining the aesthetic appeal of your roof.
Disadvantages: Ridge vents require an uninterrupted ridge line for installation, which may only be feasible for some roof designs. Additionally, they may be more expensive than other vent options.
Turbine Vents:
Advantages: Turbine vents, known as whirlybird vents, use wind power to draw hot air out of the attic. They are effective in areas with consistent wind patterns and can provide continuous ventilation without electricity.
Disadvantages: Turbine vents may be noisy in windy conditions and less effective in areas with minimal wind. They also require regular maintenance to ensure proper functioning.
Soffit Vents:
Advantages: Soffit vents are installed along the underside of the roof’s overhang and allow cool air to enter the attic while hot air escapes through higher vents. They work in conjunction with other ventilation systems to create airflow.
Disadvantages: Soffit vents may become blocked by insulation or debris, reducing their effectiveness. Proper installation and maintenance are essential to ensure they remain unobstructed.
Preparation For Roof Vent Installation
Before installing roof vents, proper preparation is essential to ensure the success and effectiveness of the ventilation system.
Here are the key steps to take before installing roof vents:
Assess Your Roof:
Assess your roof to determine the best location for vents. Consider factors such as the roof’s slope, the layout of the attic space, and the direction of prevailing winds. Vents should be evenly distributed across the roof to promote proper airflow.
Check for Obstructions:
Inspect the area where you plan to install the vents for any obstructions, such as plumbing vents, electrical wiring, or structural components. Ensure enough space to accommodate the vents without interfering with other roof features.
Choose the Right Ventilation System:
Select the appropriate type of roof vent based on your home’s ventilation needs and roof design. Consider factors such as the size of your attic, the climate in your area, and your budget. Our team at Pally Roofing can help you choose the right ventilation system for your specific requirements.
Gather Necessary Tools and Materials:
Before beginning the installation process, gather all the tools and materials you’ll need, including vents, roofing nails or screws, flashing, sealant, and any additional hardware. Everything on hand will streamline the installation process and ensure you have everything you need to complete the job.
Prepare the Roof Surface:
Ensure the roof surface is clean and debris-free before installing the vents. Remove any dirt, leaves, or other obstructions that could interfere with installation. This will help create a smooth and secure base for the vents.
Plan for Proper Sealing:
Proper sealing around the vents is crucial for preventing water leaks and ensuring a tight seal. Use roofing sealant or flashing tape to seal the area around the vents and to avoid moisture infiltration.
How to Install Roof Vents
Installing roof vents is a crucial step in maintaining proper ventilation and extending the lifespan of your roof.
Here’s a step-by-step guide on how to install roof vents:
Determining Vent Placement:
Before starting the installation process, determine the best locations for the vents on your roof. Aim for even distribution to ensure adequate airflow throughout the attic space. Consider factors such as the roof’s slope, the size of the attic, and the direction of prevailing winds.
Selecting the Right Vents:
Choose the appropriate type and size of vents for your roof. Whether you opt for box vents, ridge vents, turbine vents, or soffit vents, ensure they suit your roof’s design and ventilation needs. Our team at Pally Roofing can assist you in selecting the proper vents for optimal performance.
Gathering Tools and Materials:
Before beginning the installation, gather all the necessary tools and materials, including the chosen vents, roofing nails or screws, flashing, sealant, and any additional hardware. Everything on hand will streamline the installation process and ensure you have everything you need to complete the job.
Preparing the Roof Surface:
Clean the area where you plan to install the vents, removing any debris or obstructions that could interfere with the installation process. Ensure the roof surface is smooth and free of any irregularities to create a secure base for the vents.
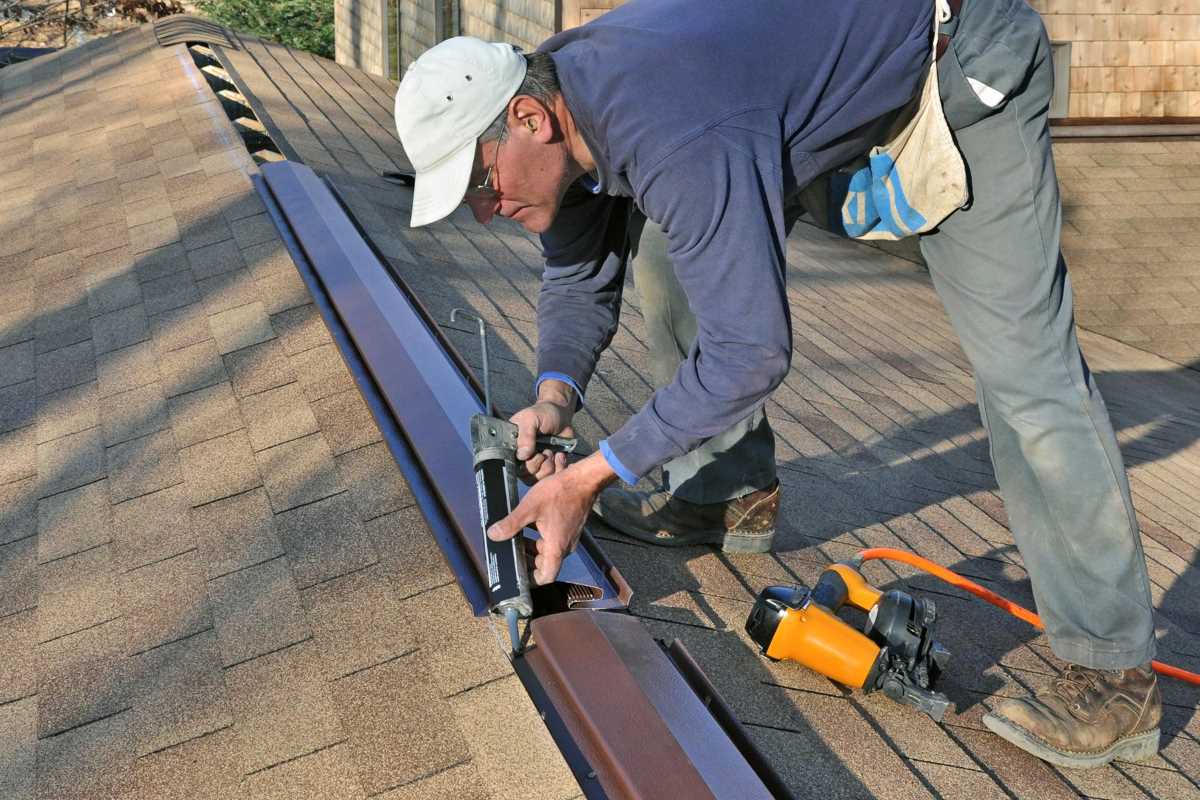
Cutting Holes in the Roof:
Carefully measure and mark the locations of the vents on the roof surface. Use a saw or reciprocating saw to cut precise holes in the roof, following the manufacturer’s guidelines for the size and shape of the openings. Take care to avoid damaging the surrounding roofing materials.
Securing the Vents in Place:
Once the holes are cut, position the vents over the openings and secure them in place using roofing nails or screws. Follow the manufacturer’s instructions for proper installation to ensure a secure and watertight fit.
Sealing Around the Vents:
Apply roofing sealant or flashing tape around the edges of the vents to create a watertight seal and prevent leaks. Ensure that all seams and joints are properly sealed to protect against moisture infiltration and maintain the integrity of your roof.
At Pally Roofing, we specialize in professional roof vent installation, ensuring precision, quality, and durability in every project. Our expert team is committed to delivering superior results that enhance the performance and longevity of your roof.
Roof Vent Installation Cost
The cost of installing a roof vent can vary depending on several factors, including the type of vent, the size of the roof, and labor expenses. Understanding these factors can help you budget effectively for your ventilation project.
Type of Vent:
The type of vent you choose will significantly impact the overall cost of installation. Different vents, such as box vents, ridge vents, turbine vents, and soffit vents, vary in complexity and material costs. Generally, ridge vents and turbine vents may be more expensive than box vents or soffit vents due to their continuous design or wind-driven mechanisms.
Size of the Roof:
The size and layout of your roof will also affect the cost of ventilation installation. Larger roofs will require more vents to ensure adequate airflow, which can increase both material and labor costs.
Labor Expenses:
Labor costs are a significant component of roof vent installation expenses. The complexity of the installation process, including cutting holes in the roof, securing vents, and sealing around them, will influence the amount of time and skill required for the job.
Additional Factors:
Other factors that may influence the cost of roof vent installation include the need for any roof repairs or modifications, accessibility to the roof, and the inclusion of additional services such as attic insulation or ventilation system upgrades.
Conclusion
In conclusion, proper roof ventilation is essential for maintaining your home’s health, durability, and energy efficiency. Throughout this article, we’ve explored the importance of roof ventilation in preventing moisture buildup, extending the life of your roof, and improving energy efficiency.
Pay attention to the importance of roof ventilation. Investing in proper ventilation today can save you from costly repairs and energy bills in the long run. Contact Pally Roofing today to learn more about our ventilation services and how we can help improve your home’s health and longevity.
FREQUENTLY ASKED QUESTIONS!
How much to install a roof vent?
Costs vary based on vent type and roof size. Box vents: $150-$300; ridge or turbine vents: $300-$800+ per vent.
How to install a roof exhaust vent?
Cut hole, position vent, secure with nails, seal edges, and ensure airflow per manufacturer's instructions.
How to install vent cap on roof?
Cut hole, position cap, secure, seal edges to prevent leaks, and follow manufacturer's guidelines.
Where should roof vents be placed?
Near roof peak for exhaust, near eaves or soffits for intake, evenly distributed for optimal airflow.