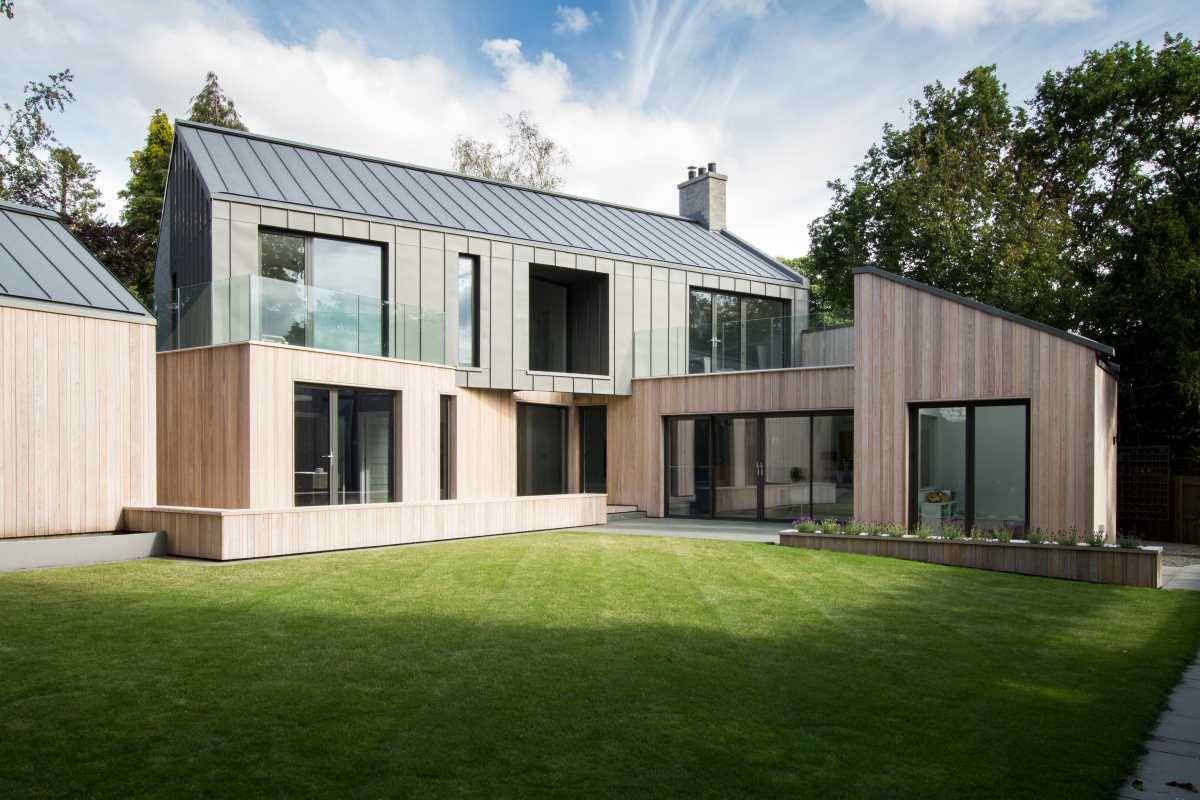
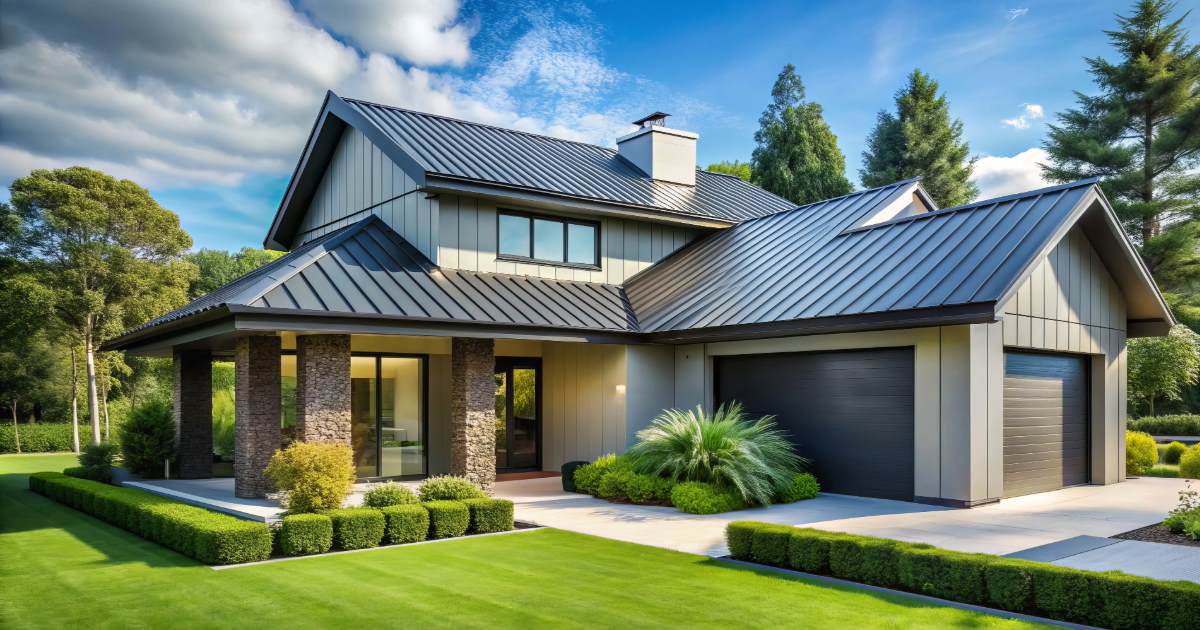
Homeowners and businesses increasingly favor metal roofing for its durability, energy efficiency, and modern aesthetic. Unlike traditional roofing materials, metal roofs can last 40-70 years with minimal upkeep and are highly resistant to weather conditions. If you’re considering a durable and stylish option, install metal roofing to benefit from its long-lasting performance and adaptability to various climates.
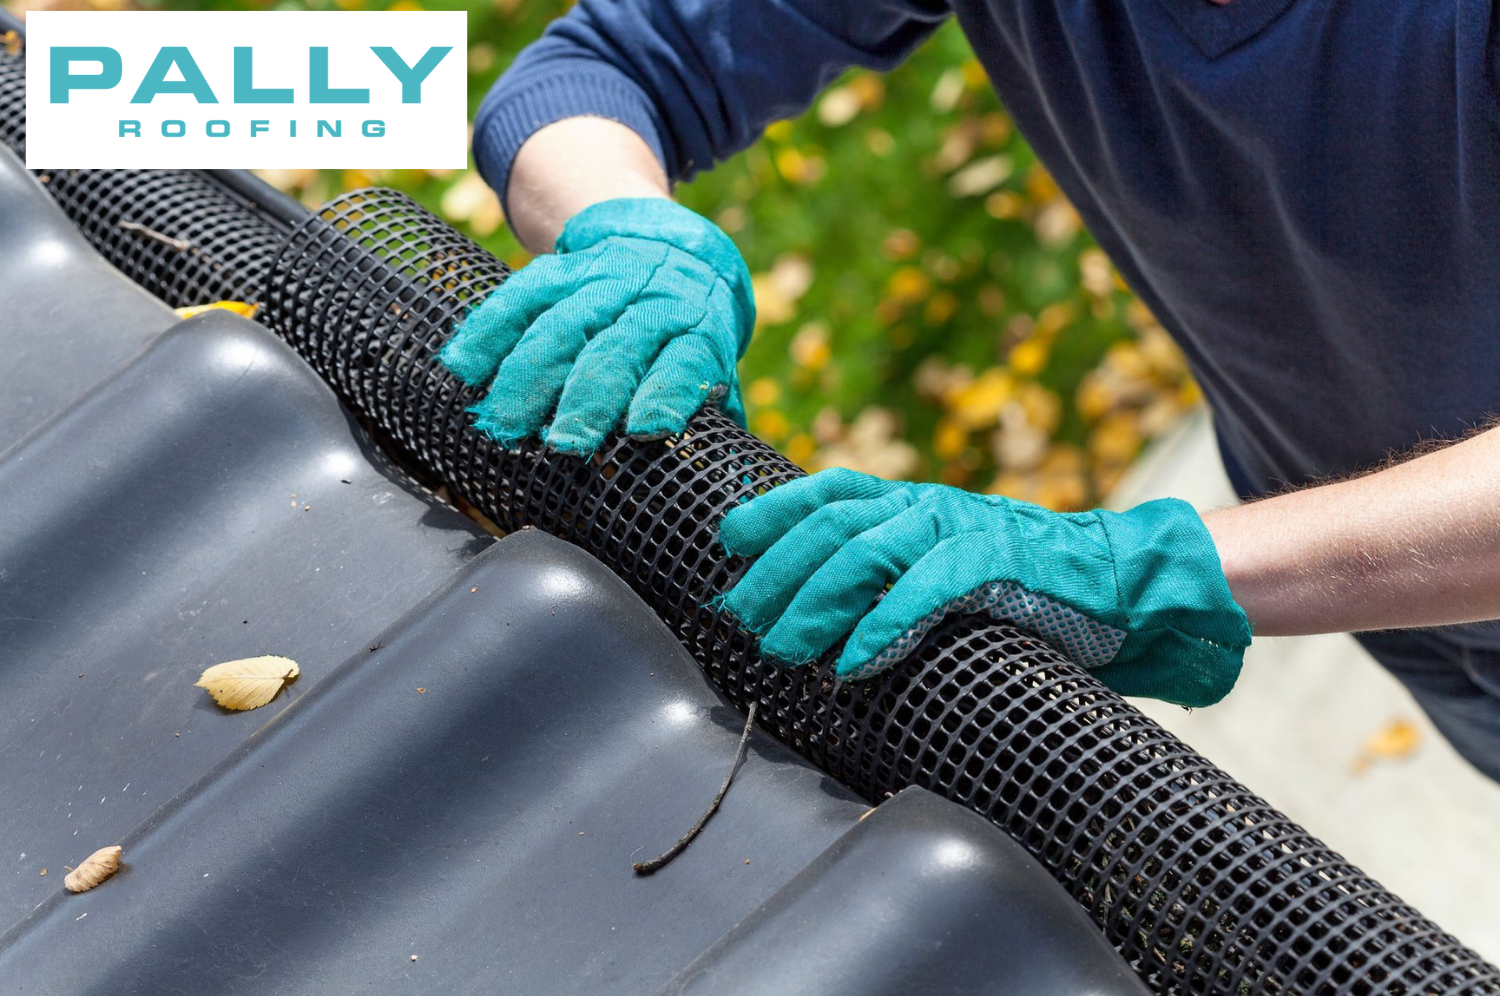
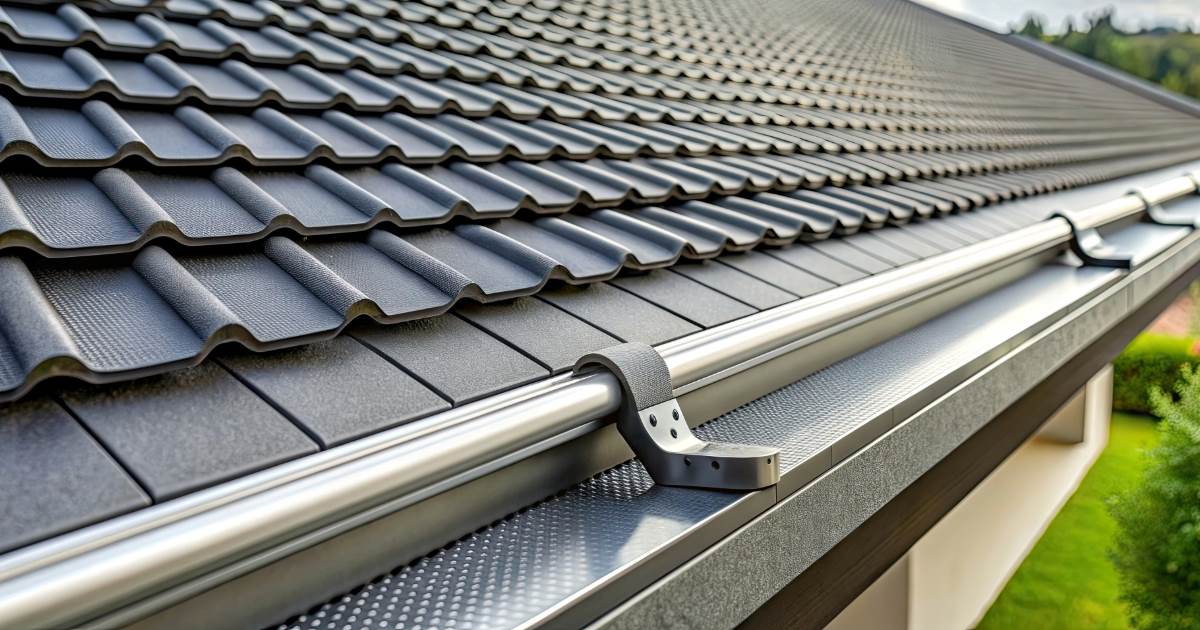
At Pally Roofing, your trusted roofing partner, we specialize in premium services, including asphalt and metal roofing installation, gutter installation and repairs. We’re the experts you can rely on for all your roofing needs, dedicated to delivering timely and dependable service.
Major Types of Metal Roofing
When choosing a metal roofing system, it’s crucial to understand the various types available, as each offers unique benefits and characteristics. Here are the significant types of metal roofing you should consider:
1. Steel Roofing
- Galvanized Steel: Coated with a layer of zinc to prevent rust, galvanized steel is a popular choice due to its strength and durability. It’s suitable for a wide range of climates.
- Galvalume Steel: This type is coated with zinc and aluminum, offering superior corrosion resistance. It’s known for its long-lasting performance and is often used in industrial and commercial applications.
2. Aluminum Roofing
- Standard Aluminum: Lightweight and corrosion-resistant, aluminum roofing is ideal for coastal areas where salt exposure is a concern. It’s also highly reflective, helping to reduce cooling costs.
- Aluminum Alloy: Typically mixed with other metals for enhanced strength and durability. It maintains aluminum’s lightweight properties while improving its resistance to impact and denting.
3. Copper Roofing
- Pure Copper: Known for its exceptional longevity and unique aesthetic, copper develops a green patina over time, which adds to its appeal. It’s a premium choice often used in high-end residential and historic projects.
- Copper Alloys: Sometimes used to reduce costs while maintaining some of copper’s desirable properties. These alloys offer a balance between durability and affordability.
4. Zinc Roofing
- Pure Zinc: Offers a sleek appearance and excellent durability. Zinc roofs develop a protective patina that helps prevent corrosion and enhances longevity. It’s often used in modern and contemporary designs.
- Zinc Alloys: Combine zinc with other metals to improve strength and flexibility. These alloys can be more cost-effective while still providing good performance.
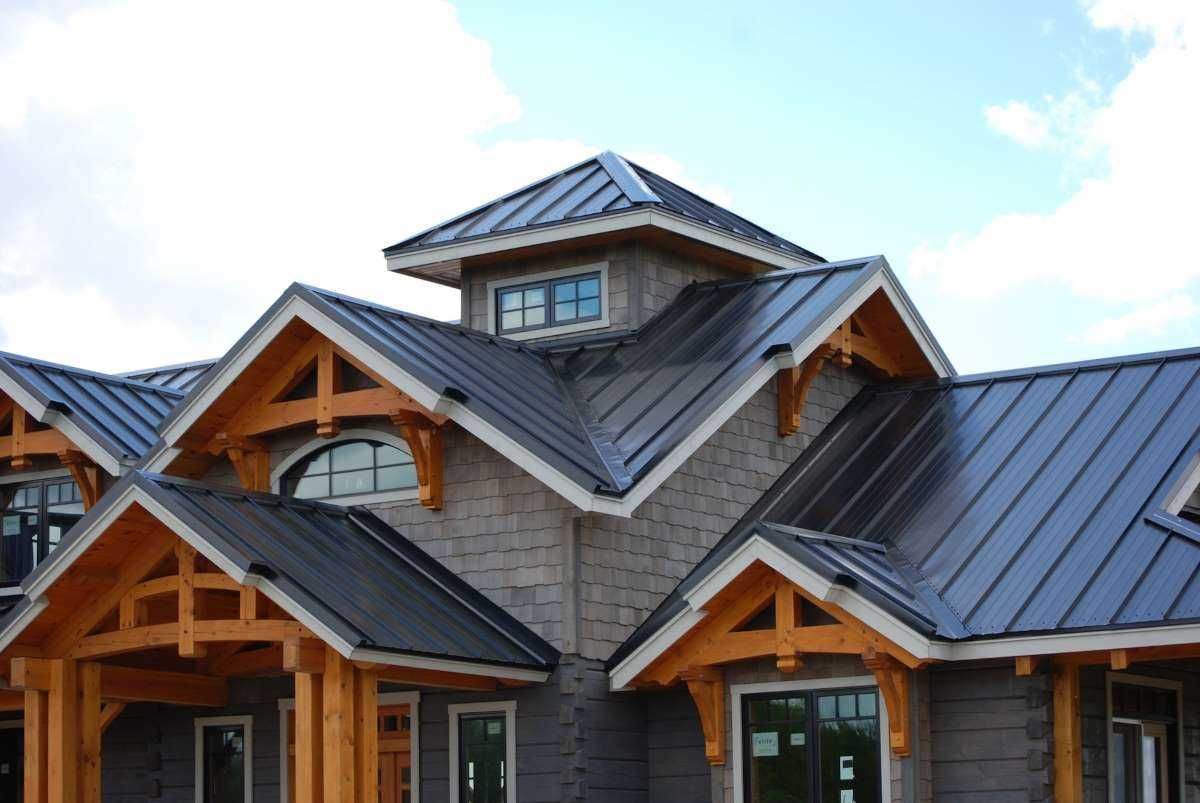
5. Standing Seam Metal Roofing
- Vertical Panels: This style features vertical panels with raised seams that interlock. It’s highly durable and weather-resistant, ideal for residential and commercial buildings. Standing seam roofs are known for their sleek appearance and minimal maintenance needs.
6. Metal Shingles
- Shingle Panels: Designed to mimic traditional roofing materials like wood shakes or slate, metal shingles offer the aesthetic appeal of these materials with the durability of metal. They come in various styles and colors, providing versatility in design.
7. Metal Tiles
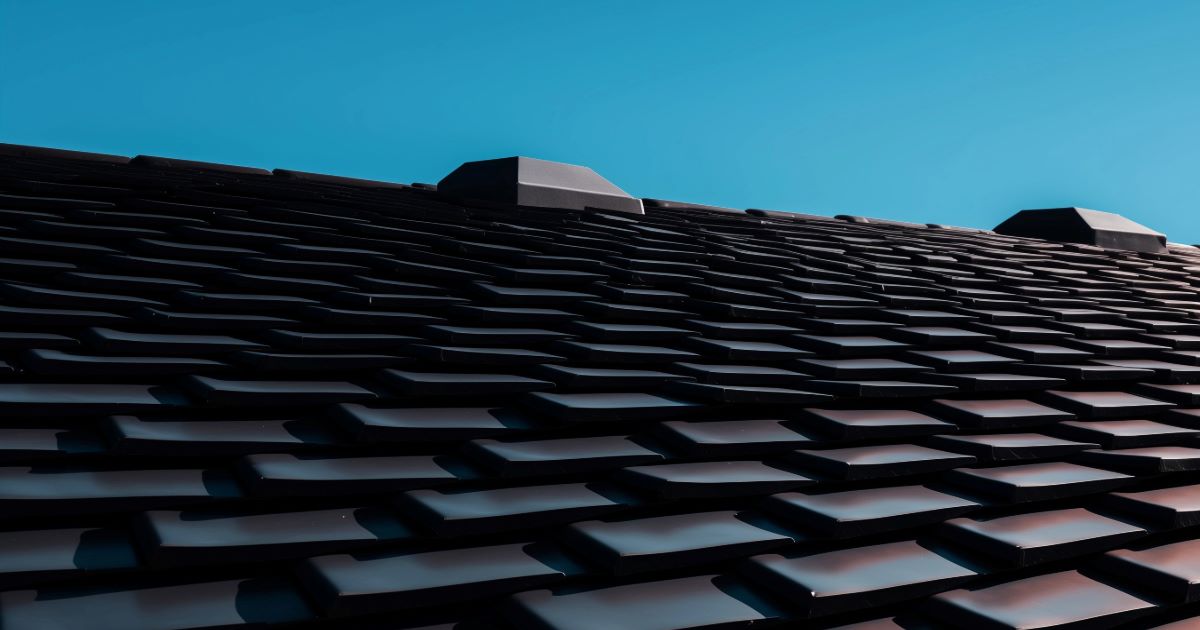
- Tile Panels: Metal tiles replicate the look of traditional clay or concrete tiles but are lighter and more durable. They offer excellent resistance to extreme weather conditions and can be a cost-effective alternative to more traditional tile roofing.
8. Corrugated Metal Roofing

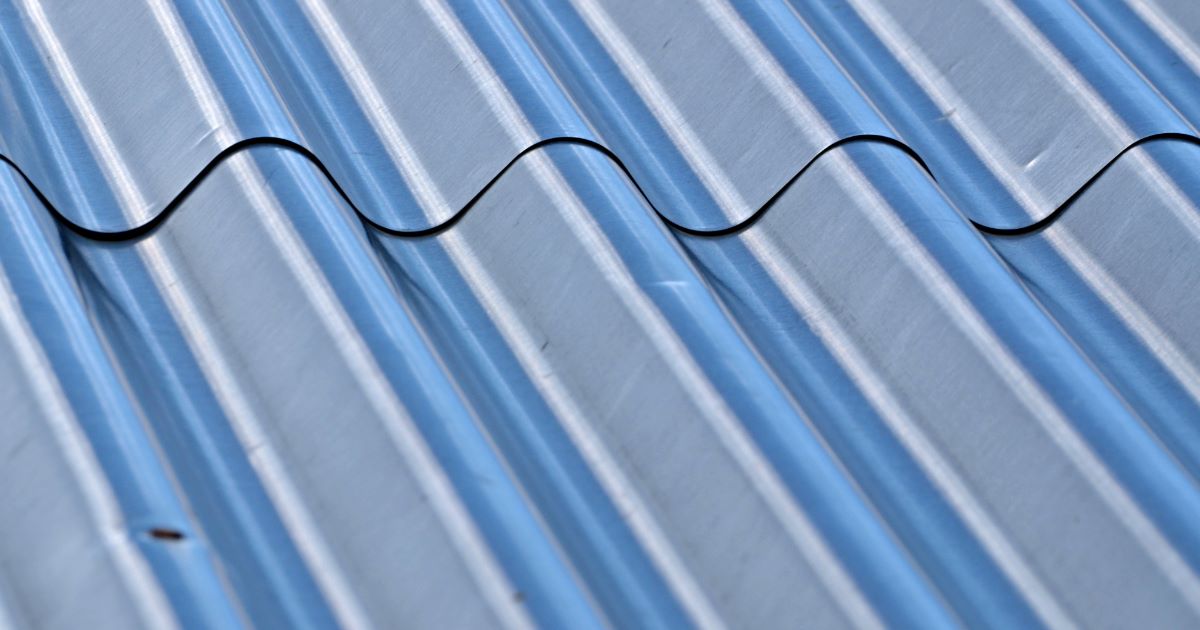
- Traditional Corrugated: Featuring a wavy pattern, corrugated metal roofing is known for its strength and durability. It’s commonly used in agricultural and industrial settings because it can withstand harsh weather conditions.
Each type of metal roofing has its own set of advantages, and the choice depends on factors such as budget, aesthetic preference, and the specific demands of your roofing project. Consult with a roofing professional to determine the best option for your needs.
Pre-Installation Preparation
Assessing Your Roof
- Measuring the Roof Area:
Accurate measurement is the first step in preparing to install metal roofing. Calculate the total roof area by measuring the length and width of each section and multiplying these dimensions to get the square footage. This ensures you order the correct amount of materials. - Inspecting the Roof’s Condition:
Before installation, thoroughly inspect your roof for any signs of damage, such as rot, leaks, or structural issues. Addressing these problems beforehand will ensure a smooth installation process and enhance the longevity of your metal roof.
Gathering Necessary Tools and Materials
- Tools Required:
Essential tools include a tape measure, chalk line, tin snips, drill, screws, ladder, and safety harness. These tools are crucial for adequately cutting, fitting, and securing the metal panels. - Materials Needed:
Gather all necessary materials, including metal panels, underlayment, flashing, fasteners, and ridge caps. Having everything on hand before starting the project will save time and prevent delays.
Safety Precautions
- Safety Gear and Equipment:
Safety should be your top priority. Equip yourself with protective gear such as gloves, safety glasses, non-slip shoes, and a safety harness. Using the proper safety equipment reduces the risk of accidents during installation. - Working with Metal Roofing Safely:
Metal roofing can have sharp edges and heavy panels. Always handle materials carefully, avoid working in adverse weather conditions, and follow proper lifting techniques to prevent injury. Prioritize safety to ensure a successful installation.
Step-by-Step Guide to Install Metal Roofing
Removing Old Roofing Material
- How to Remove Shingles or Existing Roof:
Start by removing old shingles or any existing roofing material. Use a pry bar or roofing shovel to lift and remove the shingles, working from the top down to avoid damaging the underlayment. Dispose of old materials properly, ensuring the roof surface is clear for the new installation. - Cleaning the Roof Surface:
After removing the old roofing, thoroughly clean the roof surface. Remove any debris, nails, or leftover materials. Inspect the decking for damage, and repair or replace any compromised areas to create a solid foundation for your new metal roof.
Installing the Underlayment
- Types of Underlayment:
Underlayment is a crucial layer that protects your roof from moisture and enhances insulation. Common types include felt paper (asphalt-saturated), synthetic underlayment, and self-adhering membrane. Choose the underlayment based on your climate and specific roofing needs. - Step-by-Step Installation Process:
- Roll out the underlayment starting from the eaves, ensuring it overlaps the edges.
- Secure it with roofing nails or staples, placing them approximately 6-8 inches apart along the edges.
- Ensure each row of underlayment overlaps the previous one by about 6 inches to create a watertight barrier.
- Cut the underlayment to fit around roof features like vents and chimneys.
Installing Flashing
- Importance of Flashing:
Flashing is critical for preventing water infiltration at joints, edges, and roof penetrations like chimneys and vents. Proper flashing installation ensures a watertight seal and protects your roof from leaks. - How to Install Flashing Properly:
- Install flashing around roof edges, chimneys, skylights, and vents.
- Use metal flashing that matches the roofing material for a consistent look and durability.
- Secure the flashing with roofing nails and seal the edges with roofing cement or caulk to ensure no water can penetrate.
Installing Metal Panels
- Choosing the Right Metal Panels:
Select metal panels that suit your aesthetic preference and climate. Standard options include standing seam, corrugated panels, and metal shingles. Consider color, thickness, and finish for durability and visual appeal. - Cutting and Fitting the Panels:
Measure and cut the metal panels to fit your roof’s dimensions using tin snips or a metal-cutting saw. Ensure the panels extend over the roof edge by about 1-2 inches for proper drainage—pre-drill holes for fasteners to avoid damaging the panels during installation. - Securing the Panels to the Roof:
Starting from the eaves, lay the first metal panel and secure it with roofing screws at the ridges, about 12 inches apart. Overlap each subsequent panel by one ridge to prevent water infiltration. Continue this process until the entire roof is covered.
Installing the Ridge Cap
- Purpose of a Ridge Cap:
The ridge cap covers the roof’s peak, providing a finished look and preventing water from entering the roof system. It also allows for proper ventilation, helping to regulate attic temperature. - How to Install a Ridge Cap Correctly:
- Place the ridge cap over the roof peak, ensuring it overlaps the metal panels on both sides.
- Secure the ridge cap with screws, placing them every 6-8 inches along the length of the cap.
- Ensure the ends of the ridge cap are sealed with end caps or metal closures to prevent wind-driven rain from entering the roof system.
This step-by-step guide ensures a comprehensive and effective way to install metal roofing, leading to a durable and long-lasting roof.
Post-Installation Steps
Inspecting the Roof
- Checking for Proper Installation:
Carefully inspect the entire roof to ensure all metal panels are correctly aligned, seams are tight, and there are no visible gaps. Verify that the flashing is securely placed around all roof penetrations, such as vents and chimneys, to prevent leaks. - Ensuring All Fasteners Are Secure:
Check that all screws and fasteners are securely tightened and correctly placed. Loose fasteners can compromise the roof’s integrity, so make sure every fastener is firmly in place, especially at the edges and ridges.
Cleaning Up
- Removing Debris and Waste:
Clear the roof and surrounding area of any debris, such as metal scraps, old roofing material, and packaging. Properly dispose of waste to maintain a clean and safe environment. - Final Touches:
Make any final adjustments, such as sealing small gaps with roofing caulk and trimming any excess material. A thorough final check ensures the roof is secure, watertight, and ready to withstand the elements.
Cost Considerations to Install Metal Roofing
Budgeting for Metal Roofing Installation
When budgeting for metal roofing, consider the cost of materials, labor, and additional expenses like underlayment, fasteners, and flashing. Metal roofing tends to have a higher upfront cost than other roofing materials, but it offers long-term savings due to its durability, energy efficiency, and low maintenance needs. Planning your budget carefully will ensure you get the best value for your investment.
Cost Comparison with Other Roofing Materials
Metal roofing typically costs more initially than asphalt shingles or other traditional roofing materials. However, metal roofs often last two to three times longer, reducing the need for frequent replacements. Over time, the energy savings and minimal maintenance of a metal roof can offset the higher initial cost, making it a cost-effective option in the long run.
Conclusion
Installing a metal roof involves careful preparation, from removing old roofing materials and installing underlayment to securing metal panels and the ridge cap. Each step is crucial to ensuring a durable and effective roof that will stand the test of time.
Seeking professional help ensures that your metal roof is installed correctly and safely. At Pally Roofing, our expert team is here to handle every aspect of your roofing project with precision and care. Whether you need to install metal roofing or need repairs, trust Pally Roofing to deliver top-tier service.
Contact us today to schedule your project and experience the Pally Roofing difference.
Frequently Asked Questions
How long does it take to install metal roofing?
Installation time varies depending on the size and complexity of the roof but typically ranges from 1 to 3 days for a standard residential roof.
Can metal roofing be installed over existing shingles?
Yes, metal roofing can be installed over existing shingles, provided the underlying structure is in good condition and the roof is adequately prepared.
What is the lifespan of a metal roof?
A metal roof typically lasts 40 to 70 years, depending on the material and maintenance, significantly longer than traditional roofing options.