Last updated on March 28th, 2024 at 02:32 pm
How Roof Patch Can Save Your Money On Roof Repairing
Do you want to learn how roof patch can save your money on roof repairing of your home? patching the roof yourself is an invaluable skill that could end up saving you hundreds of dollars in costly repairs. Patching a roof isn’t easy, but with practice and dedication it can be done safely with excellent results. In this blog post, we’ll cover the basic steps of patching a damaged or leaky roof so you can have peace of mind without spending too much at the repair shop!
Table of Contents
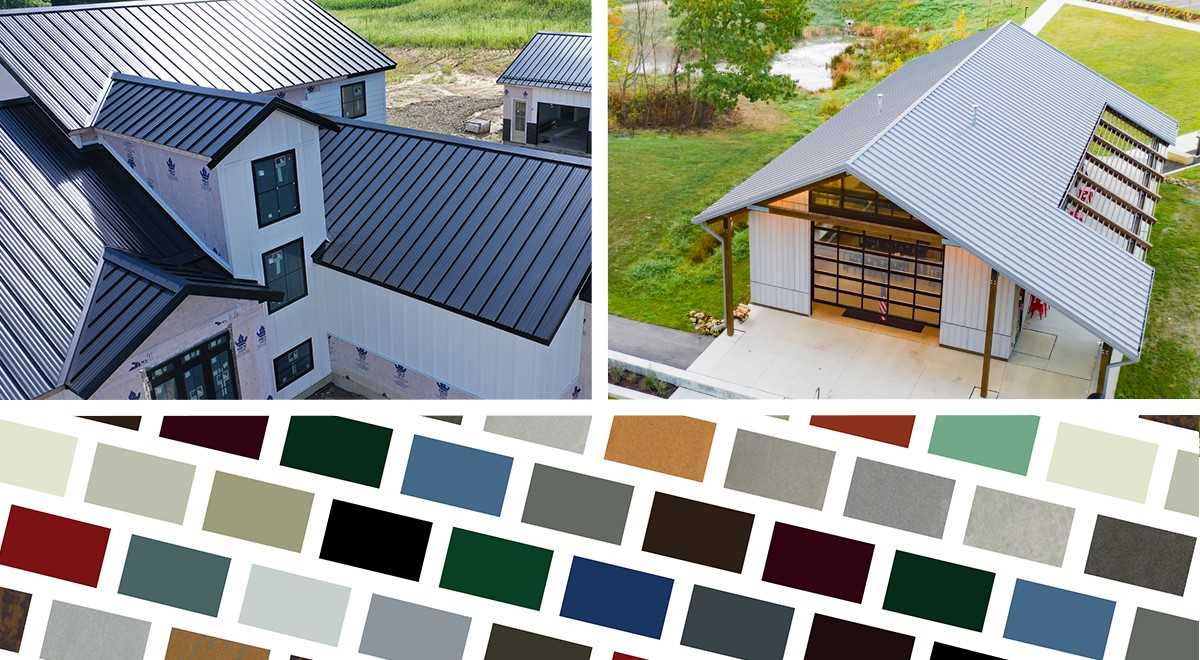
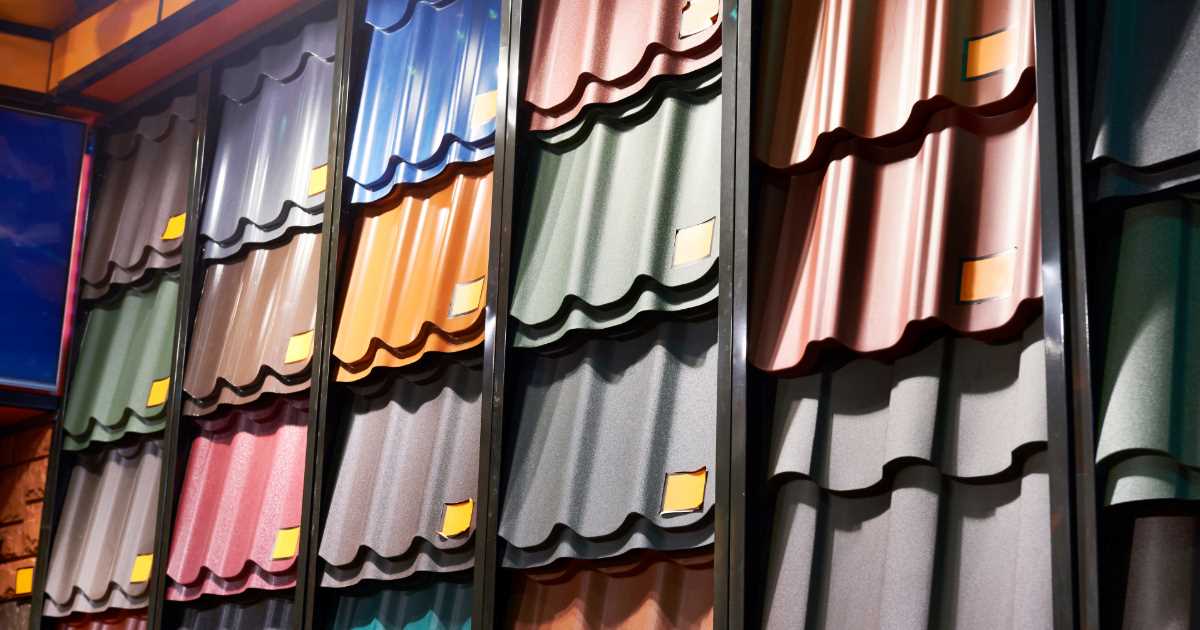
Understand the Different Types of Roofing – Asphalt Shingles Metal Roofs and More
Before you start patching your roof, it’s essential to understand the different types of roofing materials available. Asphalt shingles are the most common type, popular due to their cost-effectiveness and ease of installation. They come in a variety of styles and colors and typically have a lifespan of 20-30 years. Metal roofs, on the other hand, are more durable and resistant to harsh weather conditions. While metal roofs are more expensive than asphalt shingles, they have a longer lifespan of about 50-70 years. Other types of roofing materials include wood shakes, clay tiles, and slate, each with its own set of advantages and maintenance requirements. A clear understanding of these types will help you navigate the patching process more comfortably.
Assess Your Roof’s Condition – Check for Damage Deterioration and Wear and Tear
Before you start patching, you need to conduct a thorough roof inspection to identify areas of damage, deterioration, or wear and tear. Start by scanning the surface of the roof for any cracked, curling, or missing shingles. These can be clear indicators of a roof in need of patching. Additionally, look for signs of moss or algae growth, which could indicate trapped moisture – a potential precursor to leaks. Metal roofs, though more durable, can still develop issues such as rusting or loose seams. For roofs made of wood shakes, clay tiles, or slate, be on the lookout for broken or missing pieces. Remember, safety is paramount; use a sturdy ladder, and if the roof is steep or the damage seems extensive, consider hiring a professional for the inspection.
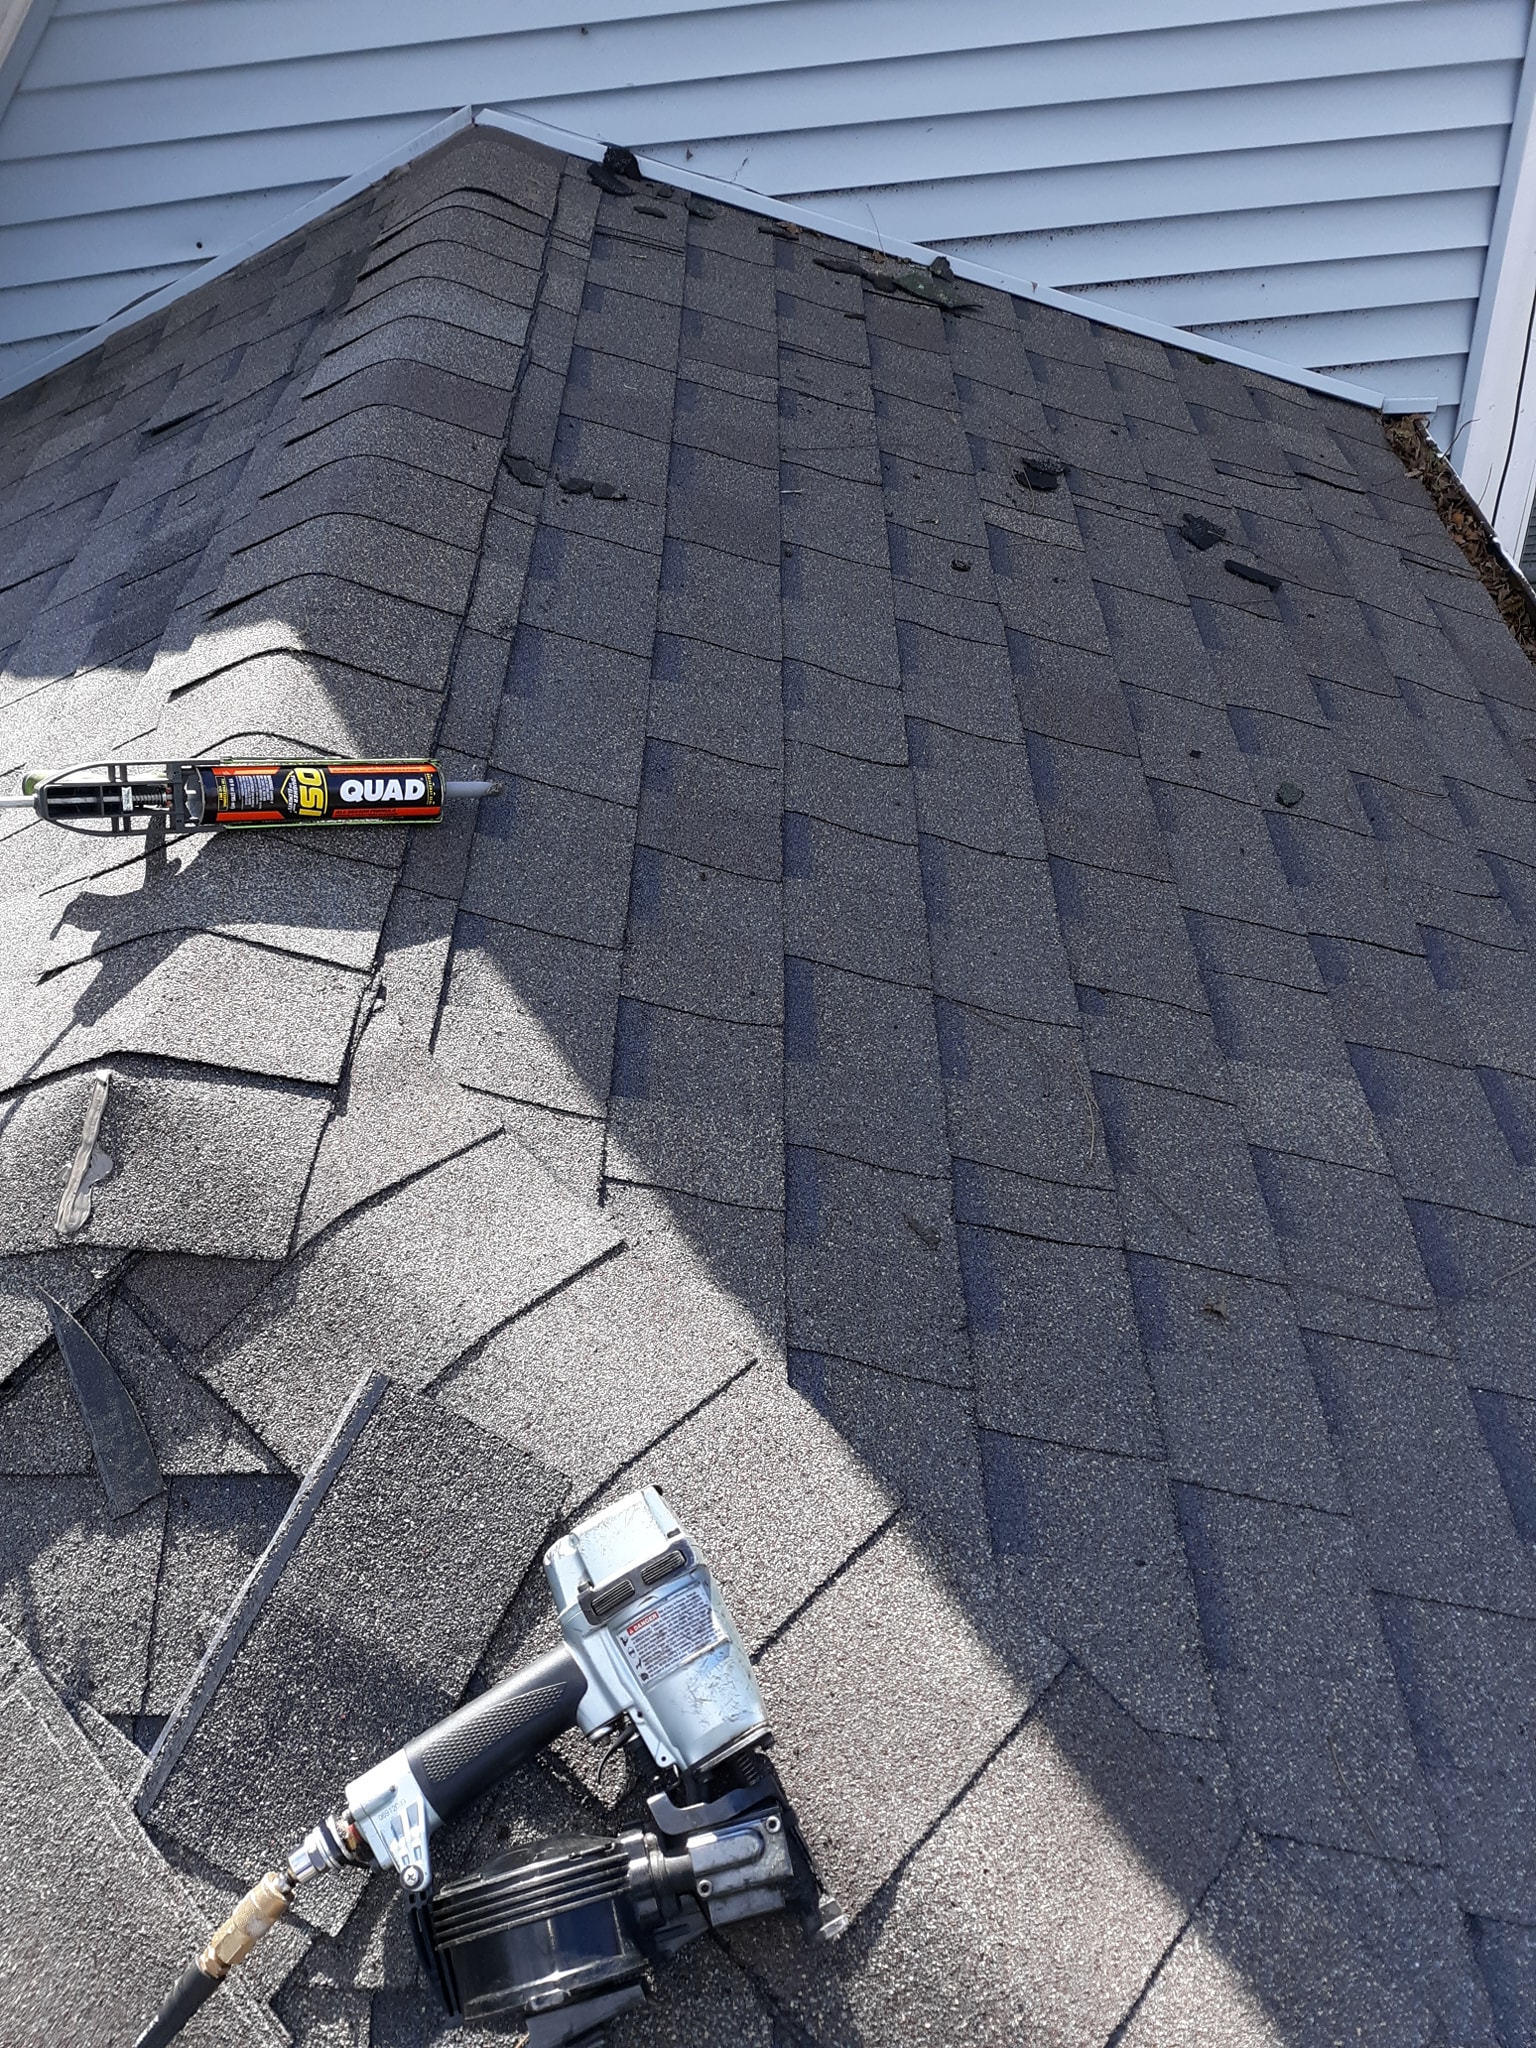
Gather Your Roof Patching Supplies – Hammer Nails Caulk Gun Ladder Safety Gear
Before you start your roof patching process, ensure you’ve gathered all essential supplies. This includes a hammer to remove or secure nails, and nails specifically designed for roofing to replace any damaged or missing ones. A caulk gun is necessary for applying roofing cement or sealant, which is typically used to seal around the edges of the patch and any nail heads. Of course, you’ll also need a sturdy ladder to safely reach your roof. Make sure it’s the right height and is in good condition. For your personal safety, invest in appropriate safety gear. This could include a safety harness, gloves, non-slip shoes, and eye protection. Having these tools and safety equipment on hand will ensure you’re prepared to start the patching process safely and efficiently.
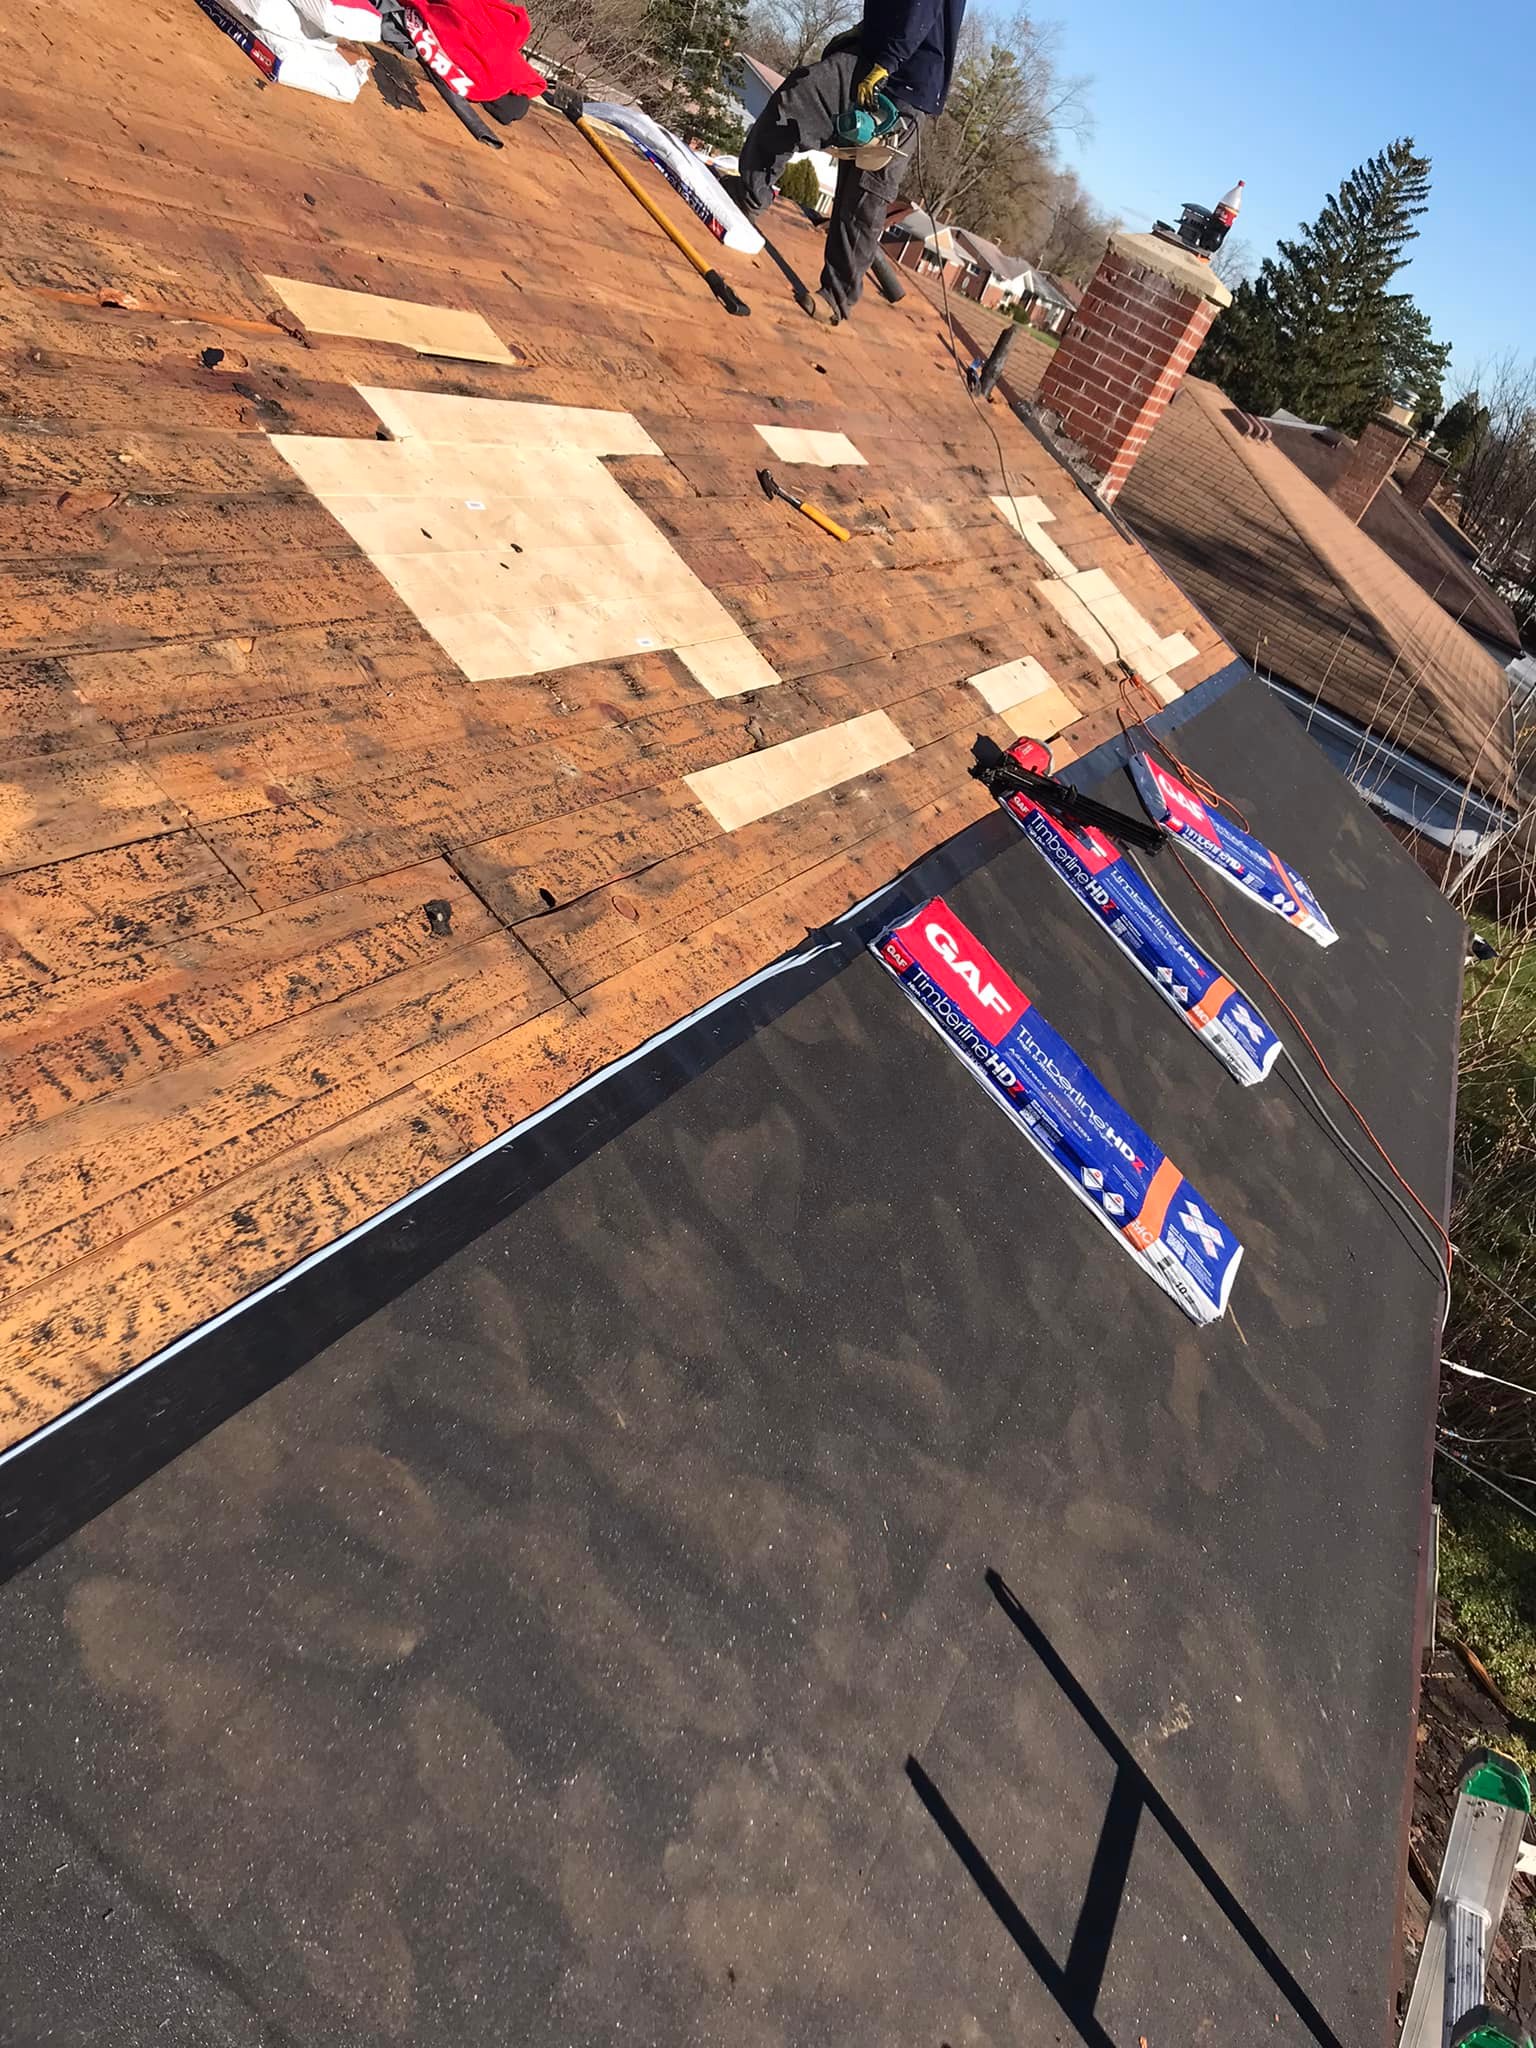
Start Patching the Damaged Area of the Roof – Securely Fasten New or Replacement Materials Over the Damaged Area
Once you’ve identified the damaged area and gathered your tools, it’s time to patch the roof. For asphalt shingles, gently pry up the nails in the damaged shingle, remove it, and replace it with a new one. Secure the new shingle with roofing nails. If the damaged area is larger, remove and replace several shingles. For metal roofing, replace the damaged panel with a new one and secure it with screws. With wood shakes, remove the damaged piece, slide in the new shake, and secure it with roofing nails. For clay tiles or slate, lift the surrounding tiles to free the damaged tile. Slide the replacement tile into place, ensuring a secure fit. Apply roofing cement or sealant around the patch edges and nail heads for a watertight seal. Step back and inspect your work to ensure a secure and even result.
Maintain Regular Maintenance to Avoid Further Damage and Expensive Repairs
Once the patching is complete, it’s important to remember that regular maintenance and inspection of your roof will help avoid any further damage or expensive repairs. Inspect your roof at least twice a year – in both spring and fall – for any signs of wear and tear or deterioration. Clear away leaves, sticks, and other organic debris from the surface of the roof as these can accelerate the breakdown of shingles. Trim back any overhanging branches as they can provide access to pests or rodents that can cause additional damage. Taking these steps will help ensure your roof remains in good condition for years to come!
By following these simple steps, patching your roof yourself can be a quick and cost-effective solution to keep your home safe. With the right tools and maintenance schedule, you can enjoy peace of mind without having to break the bank! And if all else fails – don’t forget that professionals are always available to step in and help. Stay safe out there!
https://www.google.com/maps?cid=9867860538458984182